
Vanilla Bean Coconut Yogurt!
Nothing makes this Momma happier than spending time and love to create a healthy snack for my family and they love it and ask for more!!! Ahh...Success! HOMEMADE Yogurt is a great addition for gut health. I wish I knew then what I know now about improving gut health and digestion and the foods that can help... For me, homemade yogurt is one of my top picks. Simple and easy to do. Great for a school snack, topped with grain free granola or fruit — YUM! If you would like more information on store bought yogurt —A REAL EYE OPENER—check out Dr. Mercola's article, "New Report will Reveal which Yogurts are Healthy, and which are Best Avoided," and his interview with Mark Kastel, Co-Founder of The Cornucopia Institute about their Cornucopia Yogurt Buyer's Guide. Like my mom always says, "NOTHING IS BETTER THAN HOMEMADE!"
Coconut Yogurt Equipment
I believe the quality of equipment is important. I use good quality stainless steel and glass. I have tried a few different yogurt makers in the $30-50 range and none that I have tried kept the correct temperature. I decided to purchase the Excalibur Dehydrator and love it! This is an expense but I use it for lots of other things like drying my soaked nuts, making homemade fruit roll ups and more!
Thermometer, 1 Medium Pot, 1 Small Pot, 2 Whisks, 1 Food Scissor, 1 Can Opener, 1 Tablespoon, 2 Spoons, 7 Yogurt Jars, 2 Small Glass Mixing Bowls, 2 Pyrex Measuring Cups, 1 knife, 1 plate
Vanilla Bean Coconut Yogurt Recipe
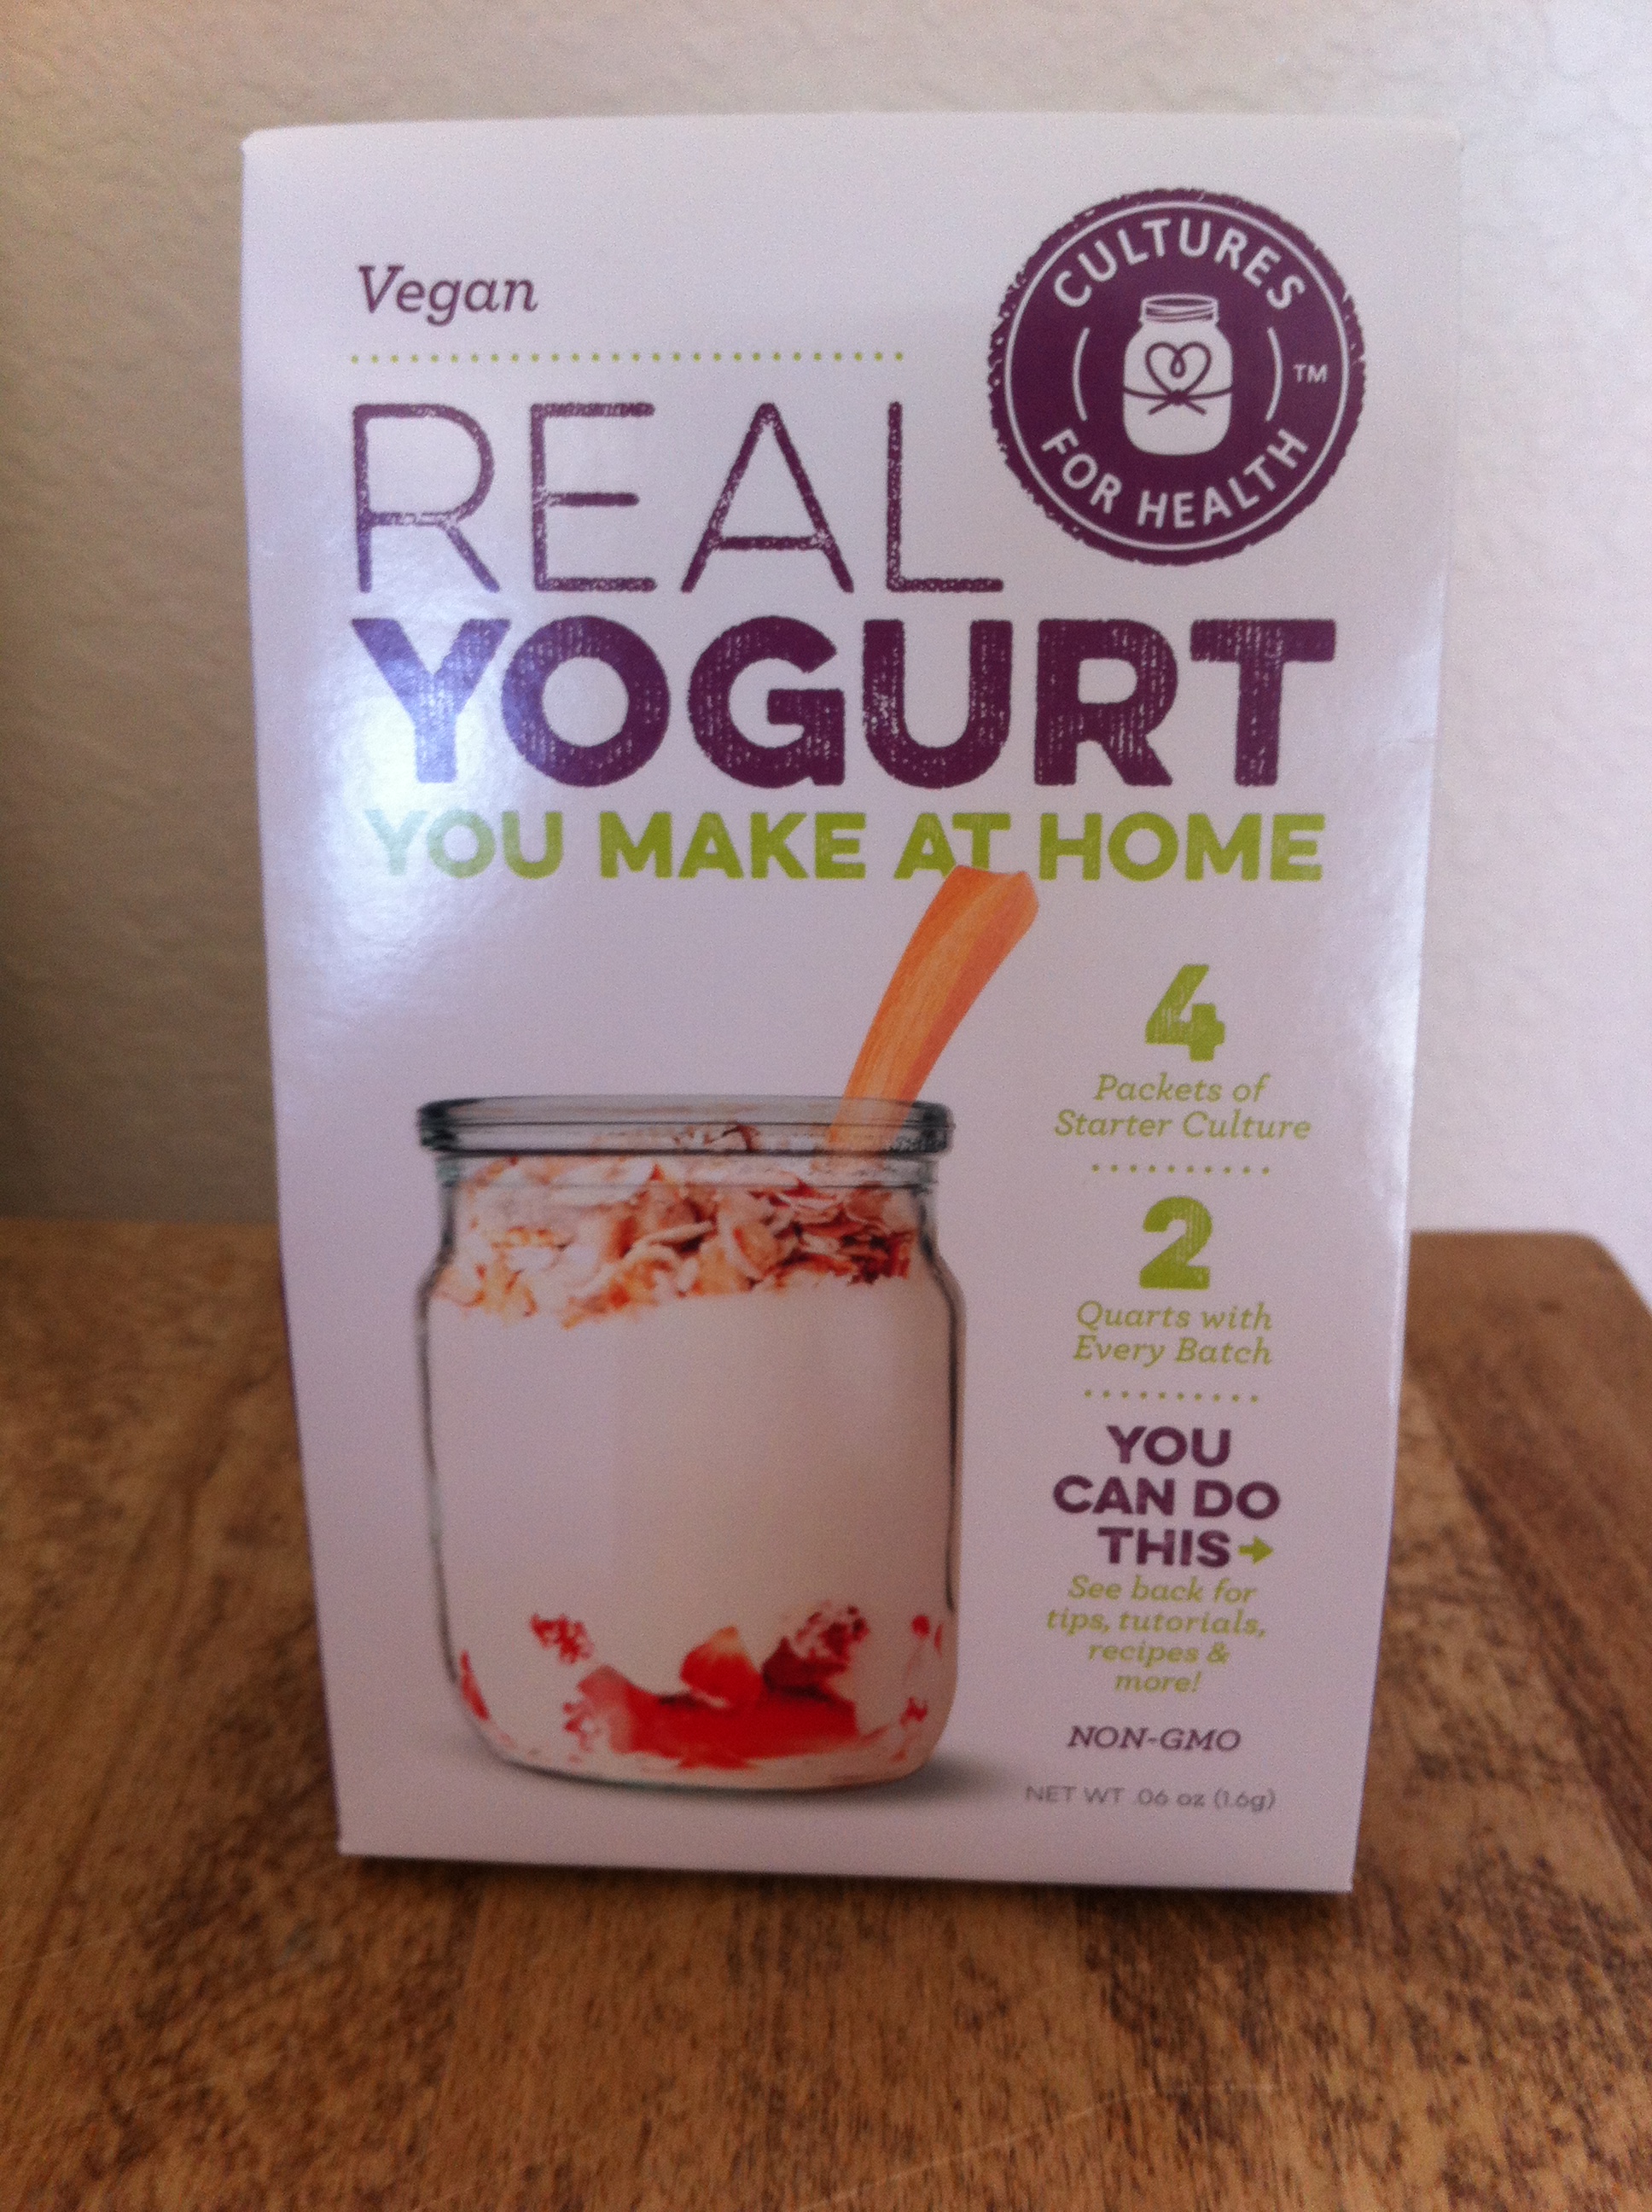
Cultures for Health is a great online store. This is where I learned so much about making yogurt and culturing food. They have great products, online support and wonderful recipes to share. I buy my Vegan Yogurt Starter, Yogurt Jars and other culturing items from them.
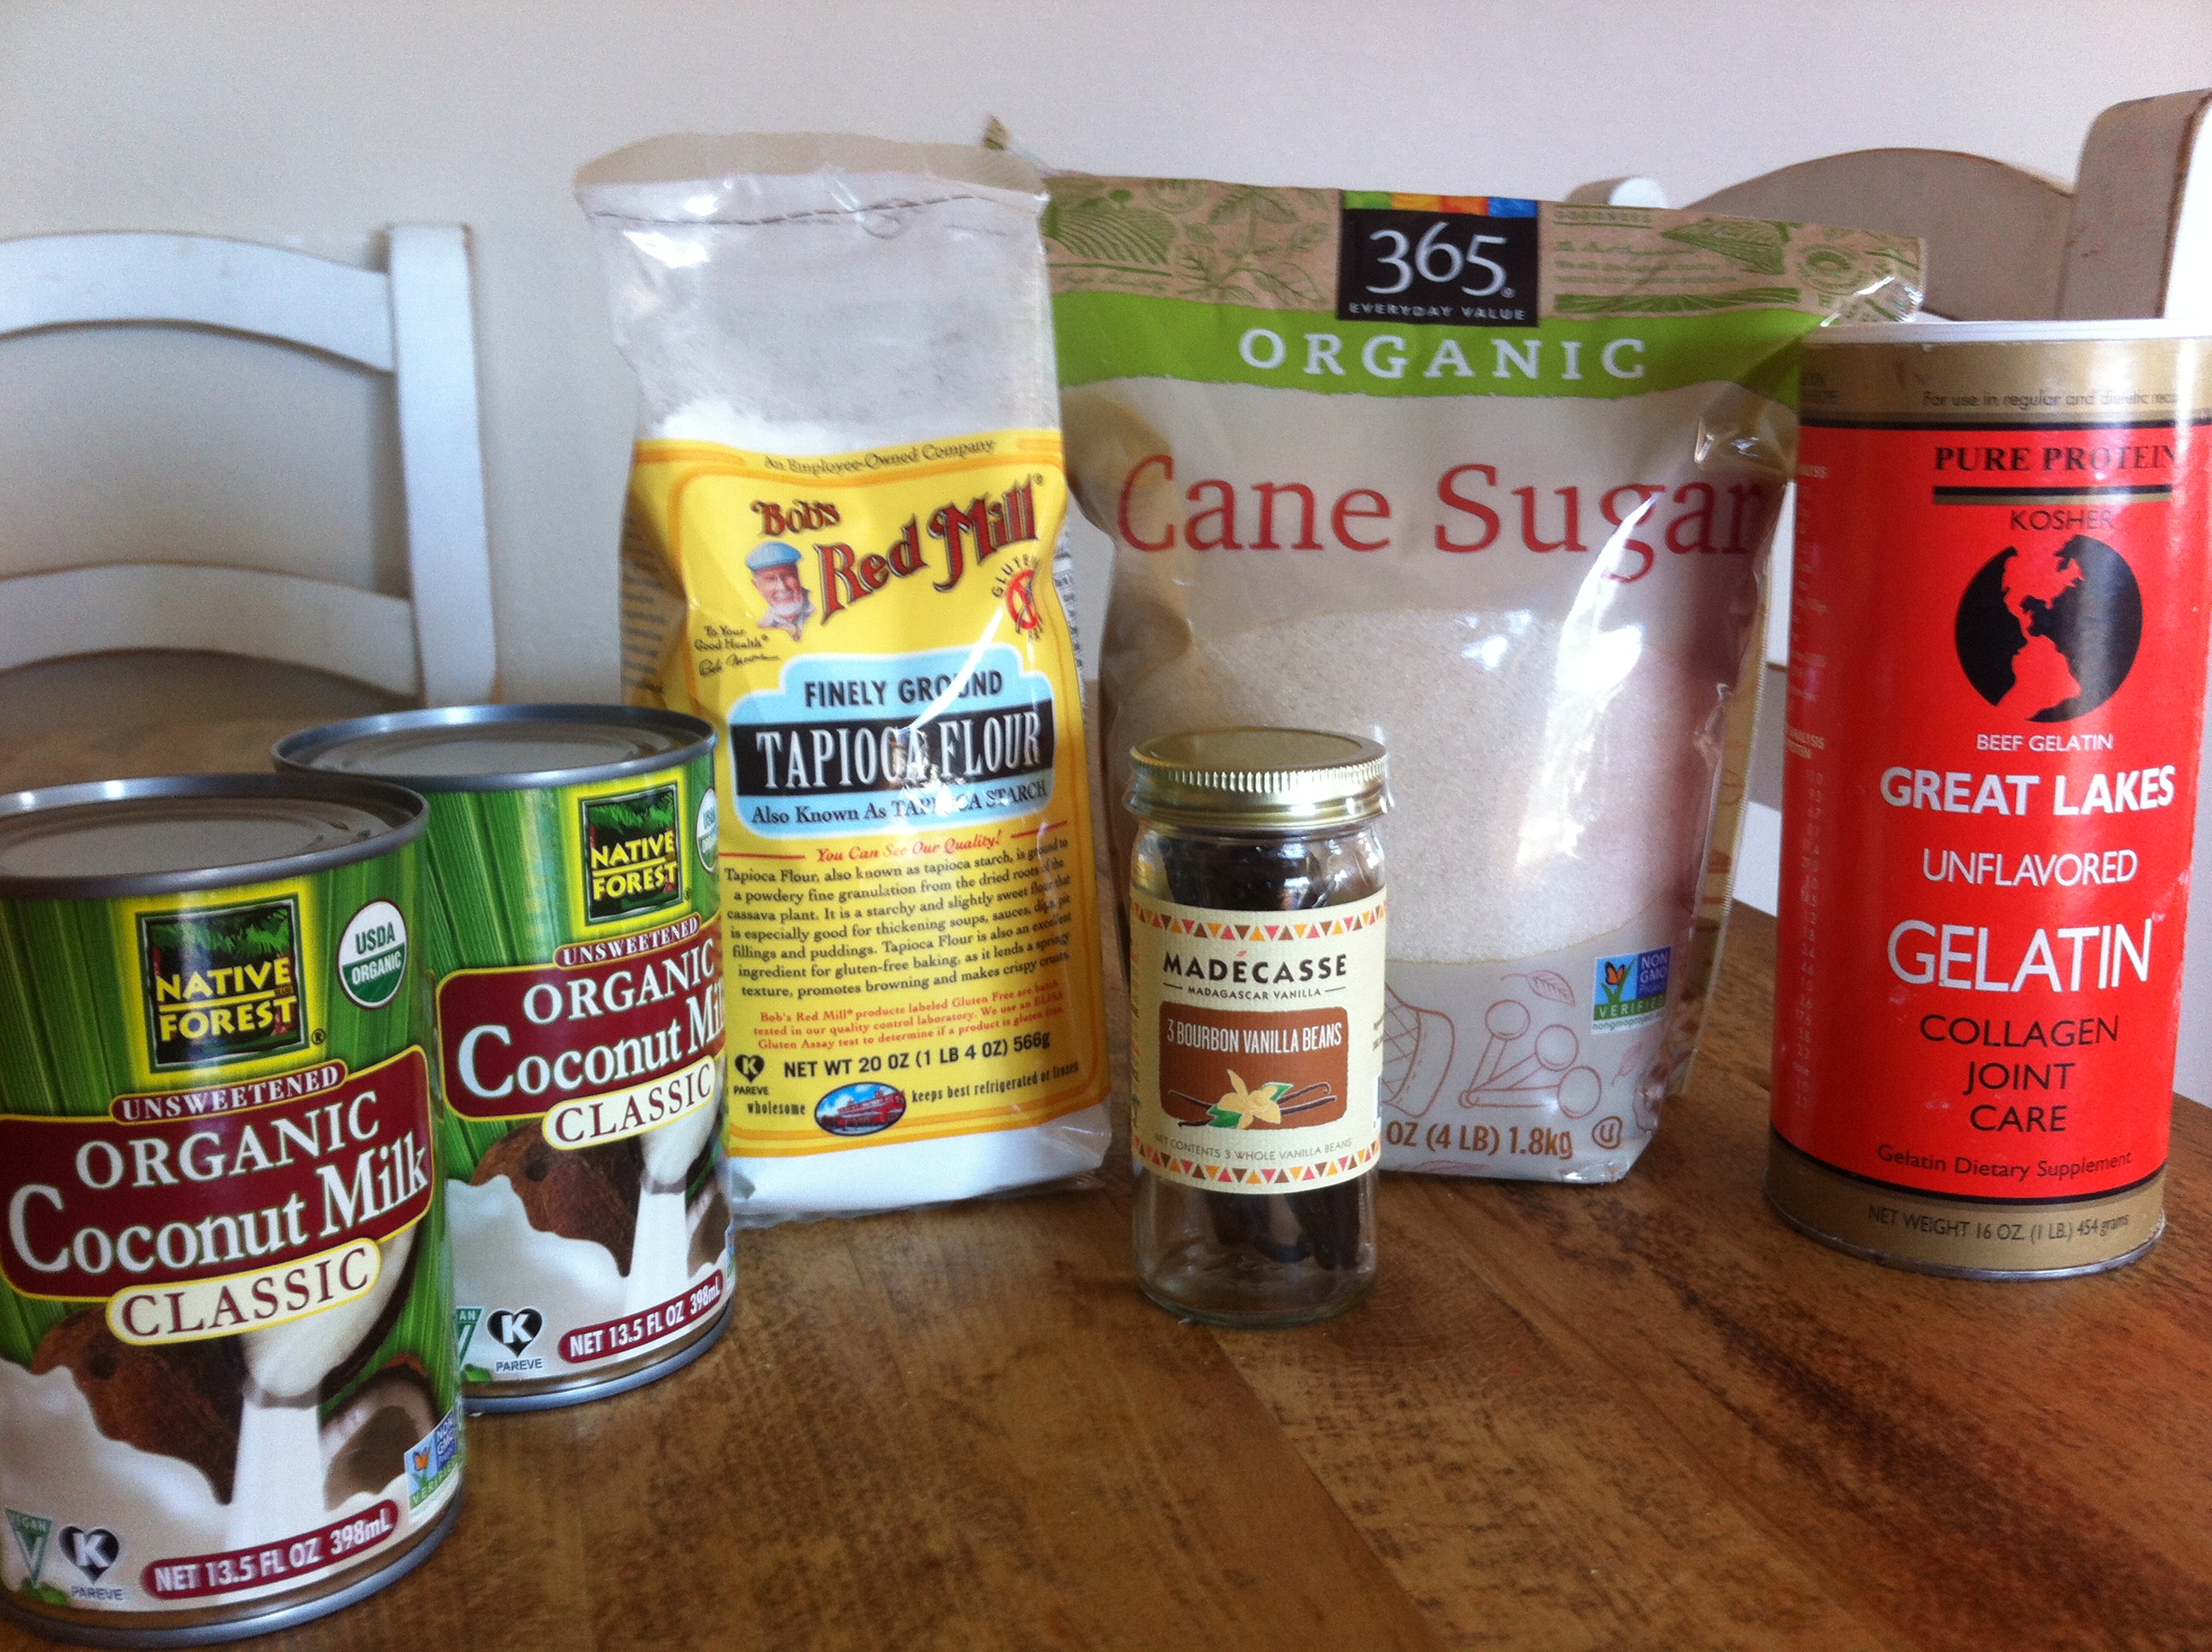
1 Package Vegan Yogurt Starter, 1 TBSP Great Lakes Unflavored Beef Gelatin, 2 Cans of Native Forest Organic Unsweetened Coconut Milk Classic, 2 TBSP Organic Raw Cane Sugar or Turbinado, 2 TBSP Bob's Red Mill Tapioca Flour, 2 Cups Filter Water, 1 REAL Madagascar Vanilla Bean (not the extract)
Step 1: Sterilize all work surfaces and kitchen counter tops to kill any bad bacteria. I use microfiber cloths and water (the good one's - research tested for efficacy) for my counter tops when making yogurt.
Step 2: Sterilize all the equipment to kill any bad bacteria: thermometer, 1 Medium Pot, 1 Small Pot, 2 Whisks, 1 Food Scissor, 1 Can Opener, 1 Tablespoon, 2 Spoons, 7 Yogurt Jars, 2 Small Glass Mixing Bowls, 2 Pyrex Measuring Cups, 1 knife, 1 plate and any other equipment you choose to use. Read more on how to sterilize your equipment with boiling water.
Step 3: Open both cans of coconut milk and pour them into the large pot (you may need a spoon to get out all the great cream).
Step 4: Measure 1 cup of filtered water and pour it into the smaller pot.
Step 5: Measure 2 Tablespoons of Tapioca Flour and place it into the small glass mixing bowl. Measure 1 tablespoon of gelatin and place it into the other small mixing bowl (don't worry about exact measurements...heaping TBSP works too!). Set aside.
Step 6: Place 1-2 Madagascar Vanilla Beans on a plate. Using a knife, cut it lengthwise (I 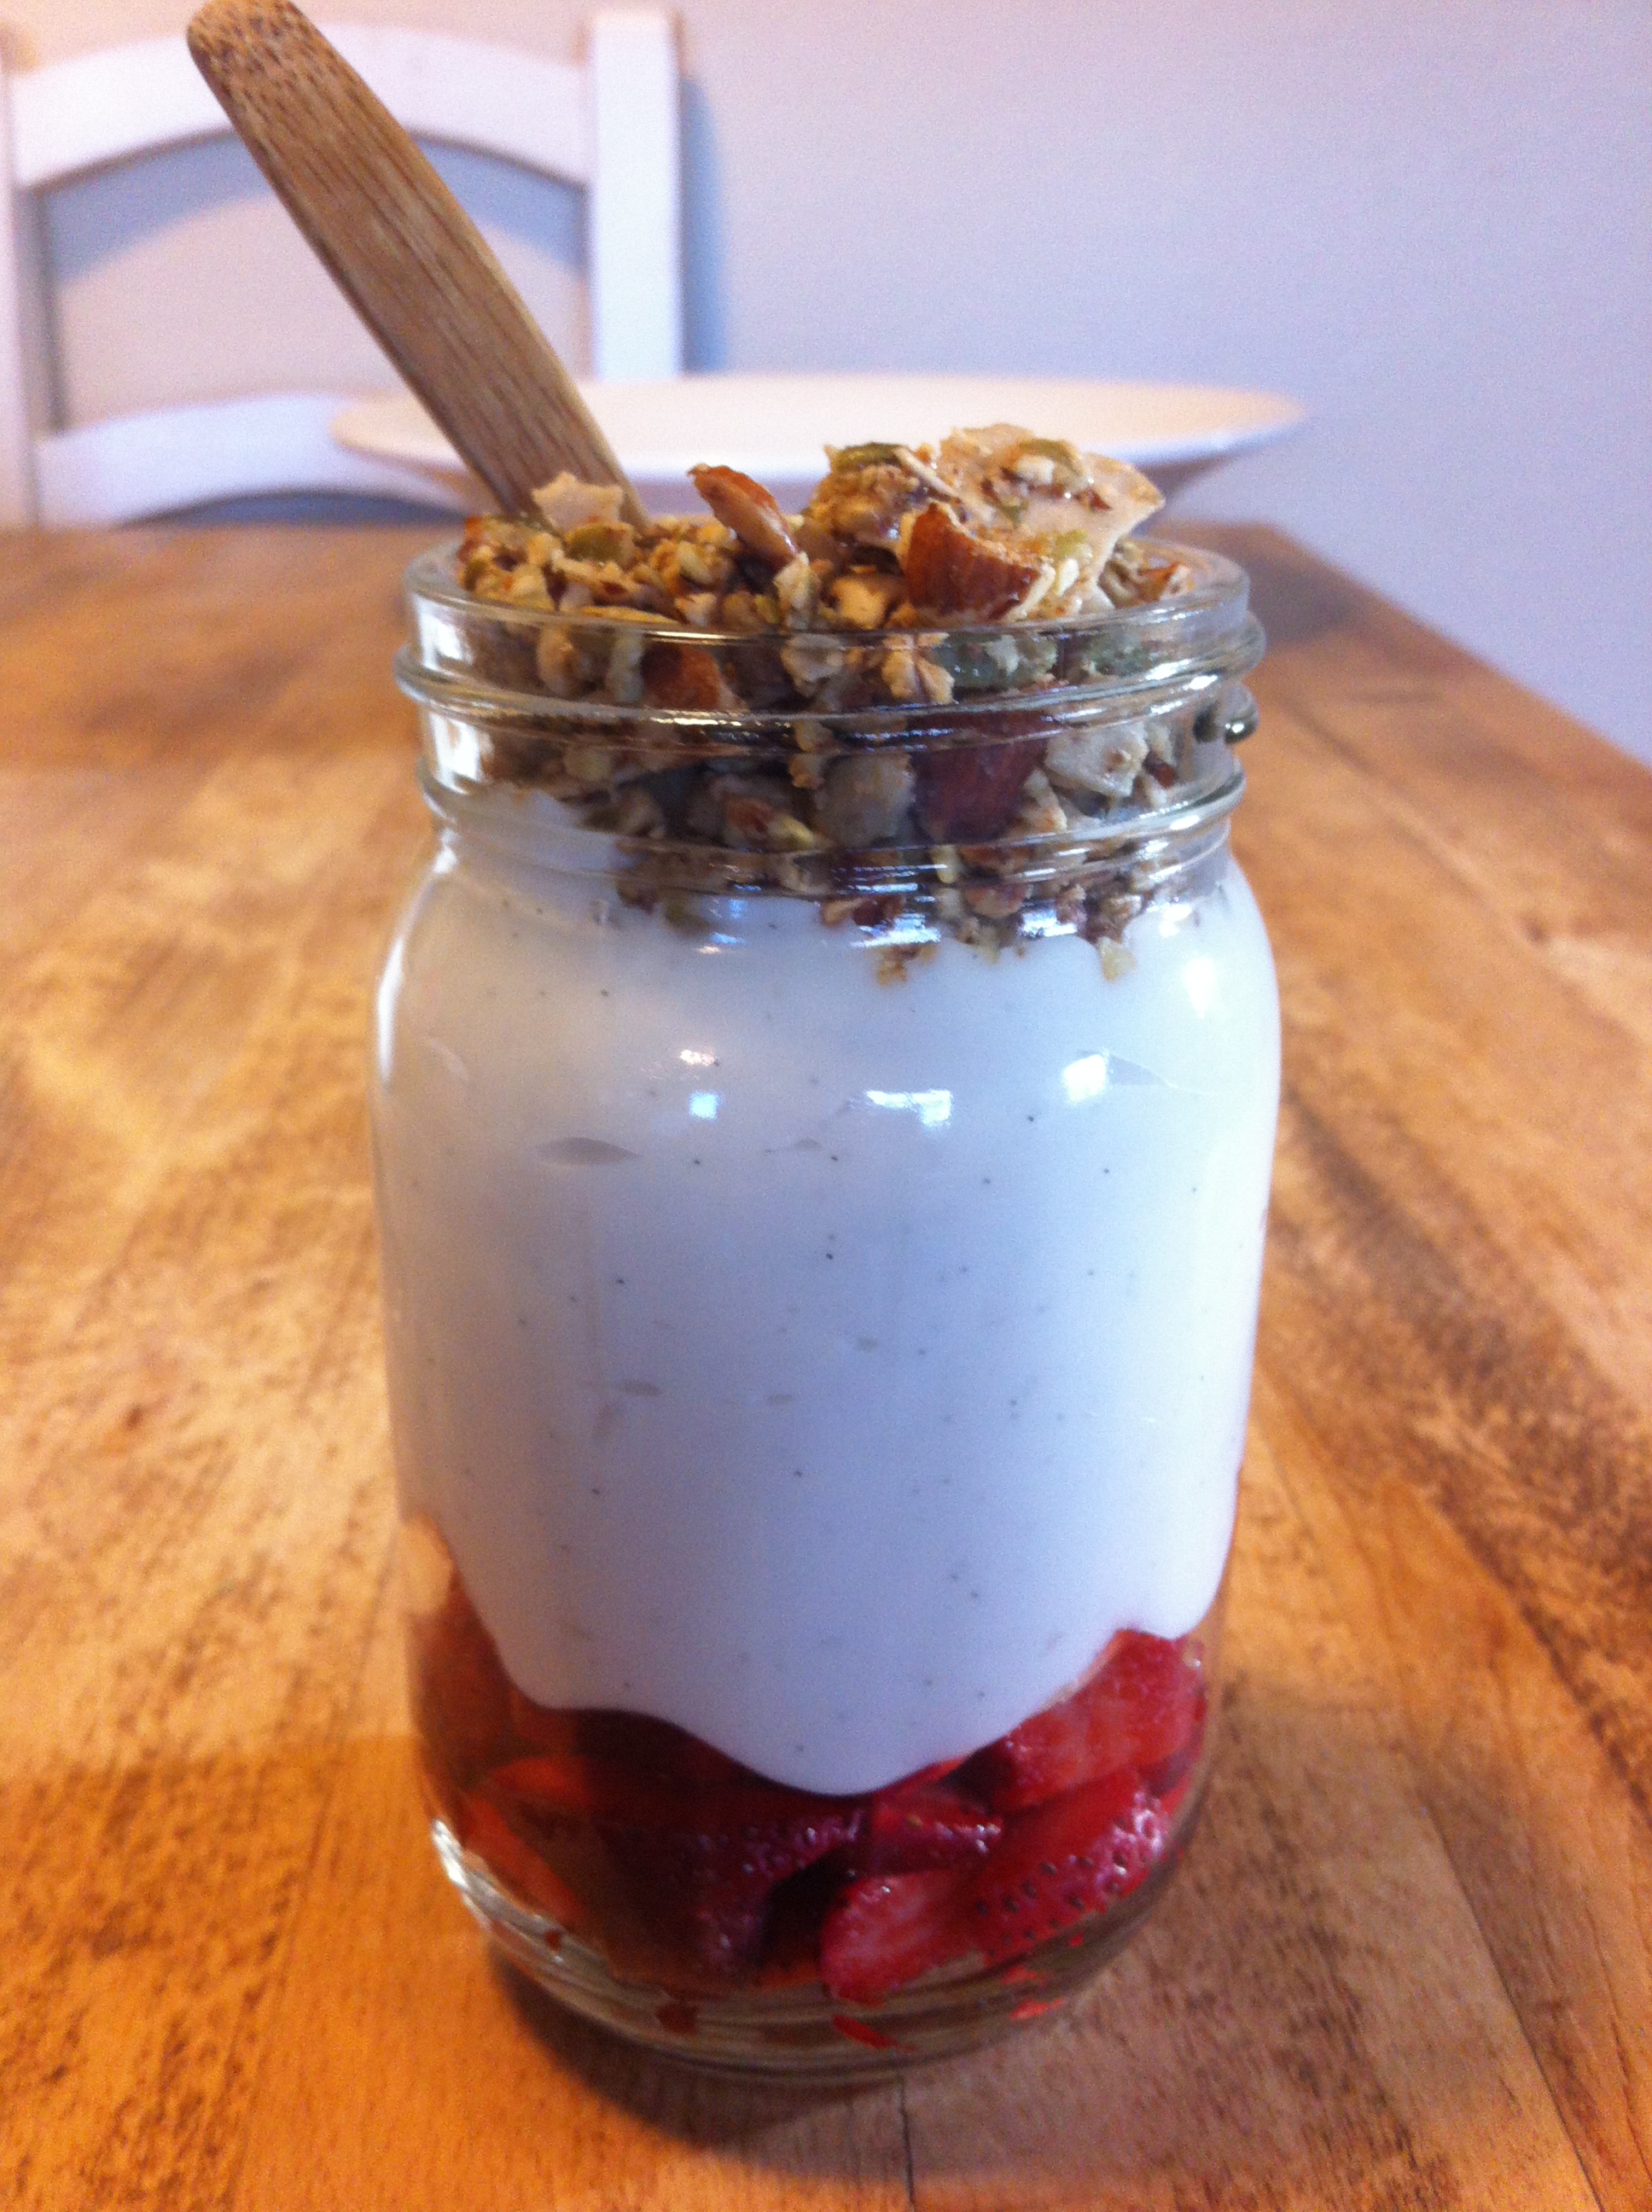 have tried other beans and Madagascar is the yummiest). Spoon out all the Vanilla Bean paste (don't scrape too hard so as not to get any bean strands- you can see the vanilla bean specs in the yogurt). Leave it on the spoon
resting on the plate and set aside.
Step 7: Turn on stove and begin to heat coconut milk to 180°. This will make for a thicker creamier yogurt. Some say it is important to heat the coconut milk to 180° to kill any bacteria while others say because it is canned coconut milk it should be sufficiently clean for culturing when heated to 115°. Because of the mixed information, I heat the coconut milk to 180° and it makes for a thicker end product anyway. In addition, we are adding real Vanilla Beans and this needs to be heated to be properly blended.
Step 8: At the same time, heat the water in the small pot. Bring the water to a boil and reduce heat to a simmer.
Step 9: While both the coconut milk and water are heating up, add 1/2 cup of filtered water to the 2 Tablespoons of Tapioca Flour. Mix thoroughly (no clumps). Add this mixture into the simmering boiling water. Mix until thickens (happens quickly) and add 2 tablespoons of sugar. Once thoroughly mixed add this mixture into the coconut milk and whisk thoroughly until blended. DO NOT WAIT until the coconut milk is heated to 180° to add this mixture into the yogurt. I like to rest my whisk in the sterilized Pyrex measuring cup when not in use.
Step 10: Add 1/2 cup of filtered water to the gelatin. Mix thoroughly and add into the coconut milk. Continuously mix the coconut milk mixture.
Step 11: Add the Vanilla Bean into the Coconut Milk mixture and whisk, whisk, whisk until thoroughly combined and the vanilla bean specs are separated ... YUM!
Step 12: Continue to whisk and heat the Coconut Milk Mixture until it reaches 180°
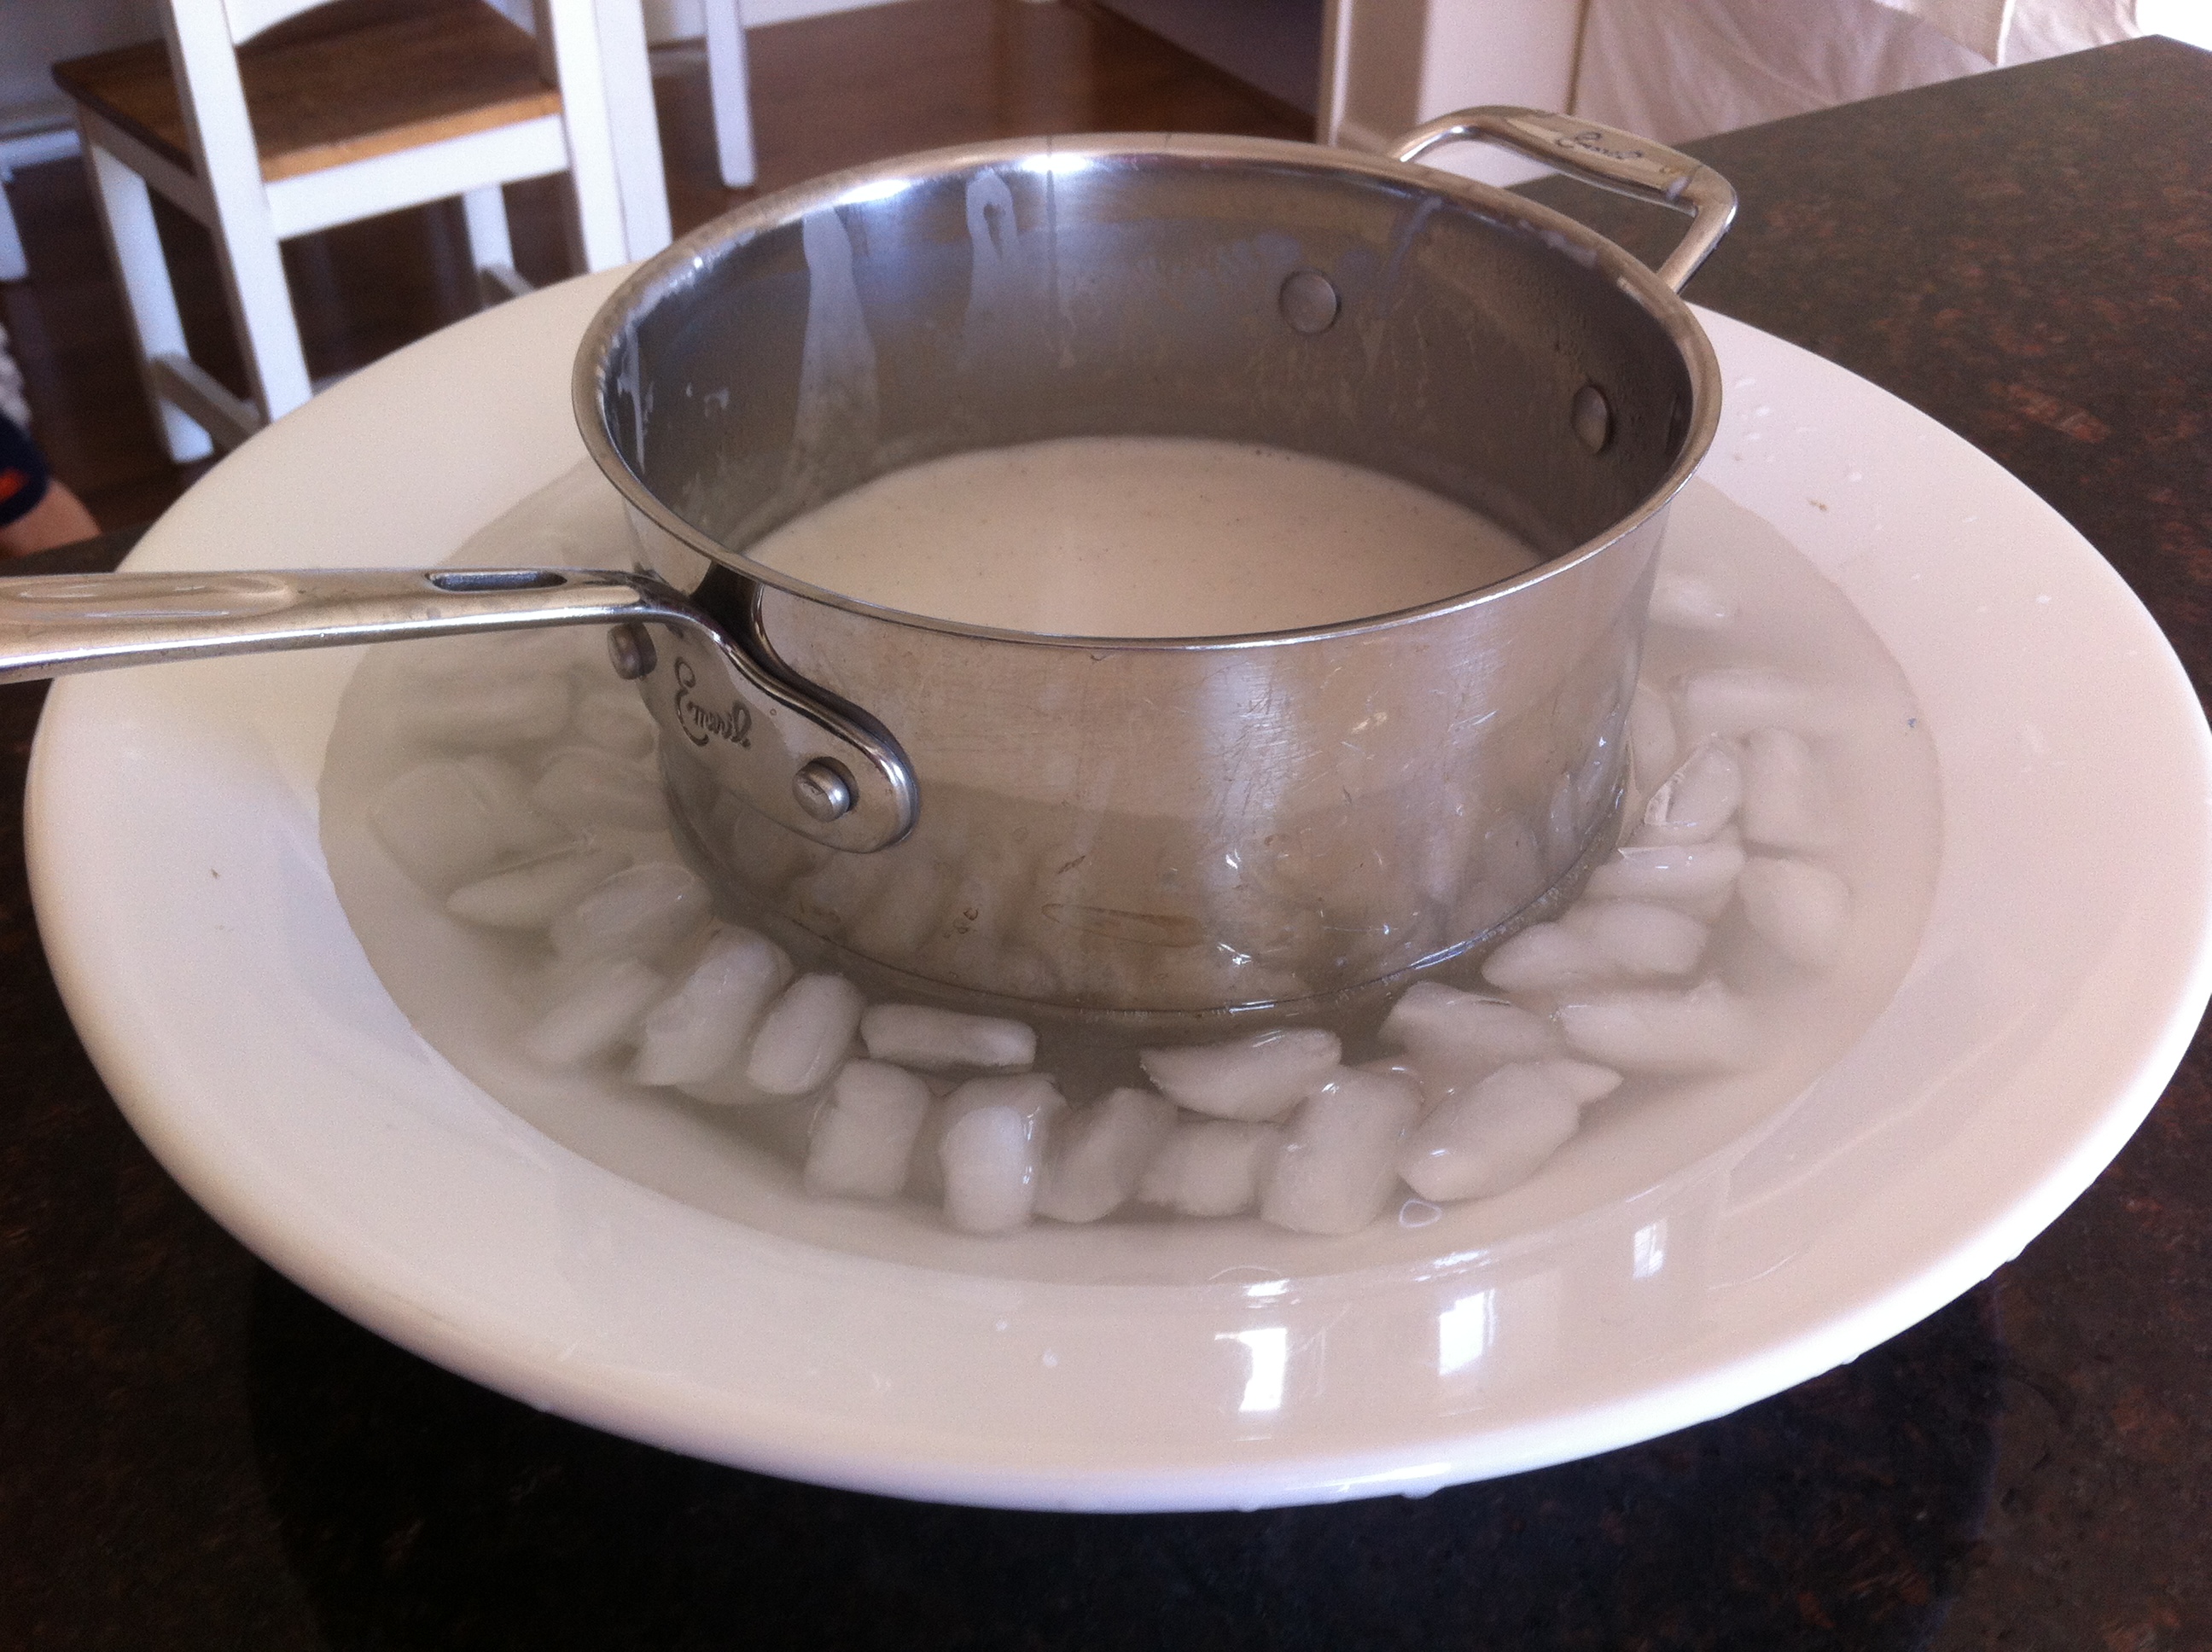 Step 13: At 180° take the coconut milk mixture off the stove and cool to 110°. For those of you like me who have a hard time waiting around for things to cool. You can sit the entire pot of the coconut milk mixture into another pan or bowl that has ice and cold water in it for quicker cooling. Keep a close eye because it will cool pretty fast towards the end.
Step 14: While it is cooling, turn on and heat up your Excalibur or Yogurt Maker to 108-110°.
Step 15: Once coconut milk is cooled to 110° add in 1 package of Vegan Yogurt Starter and whisk together thoroughly. I like to use the second sterilized whisk to mix during the cooling process and when adding the Vegan Yogurt Starter. The second sterilized Pyrex glass, I use to hold my whisk when not in use.
Step 16: Pour into Yogurt Jars, cover and tighten with lid and place into Excalibur (set at 108-110°) for 6-8 hours to incubate. The longer the incubation the tangier it will taste. When the incubation period is complete, the yogurt will not be thickened yet until it has been refrigerated overnight.
Step 17: Place the yogurt in the refrigerator (40° to 45°) to thicken overnight. It should be ready to eat the next day. Keeping the yogurt refrigerated, it will be good for 7 days. As with any food if it doesn't look good, smell good or taste good...don't eat it.
Step 18: When the yogurt is ready to eat you can always eat it right out of the jar. My family likes it when I mix it. I use a small spatula and mix it until smooth. This recipe makes 7 jars.
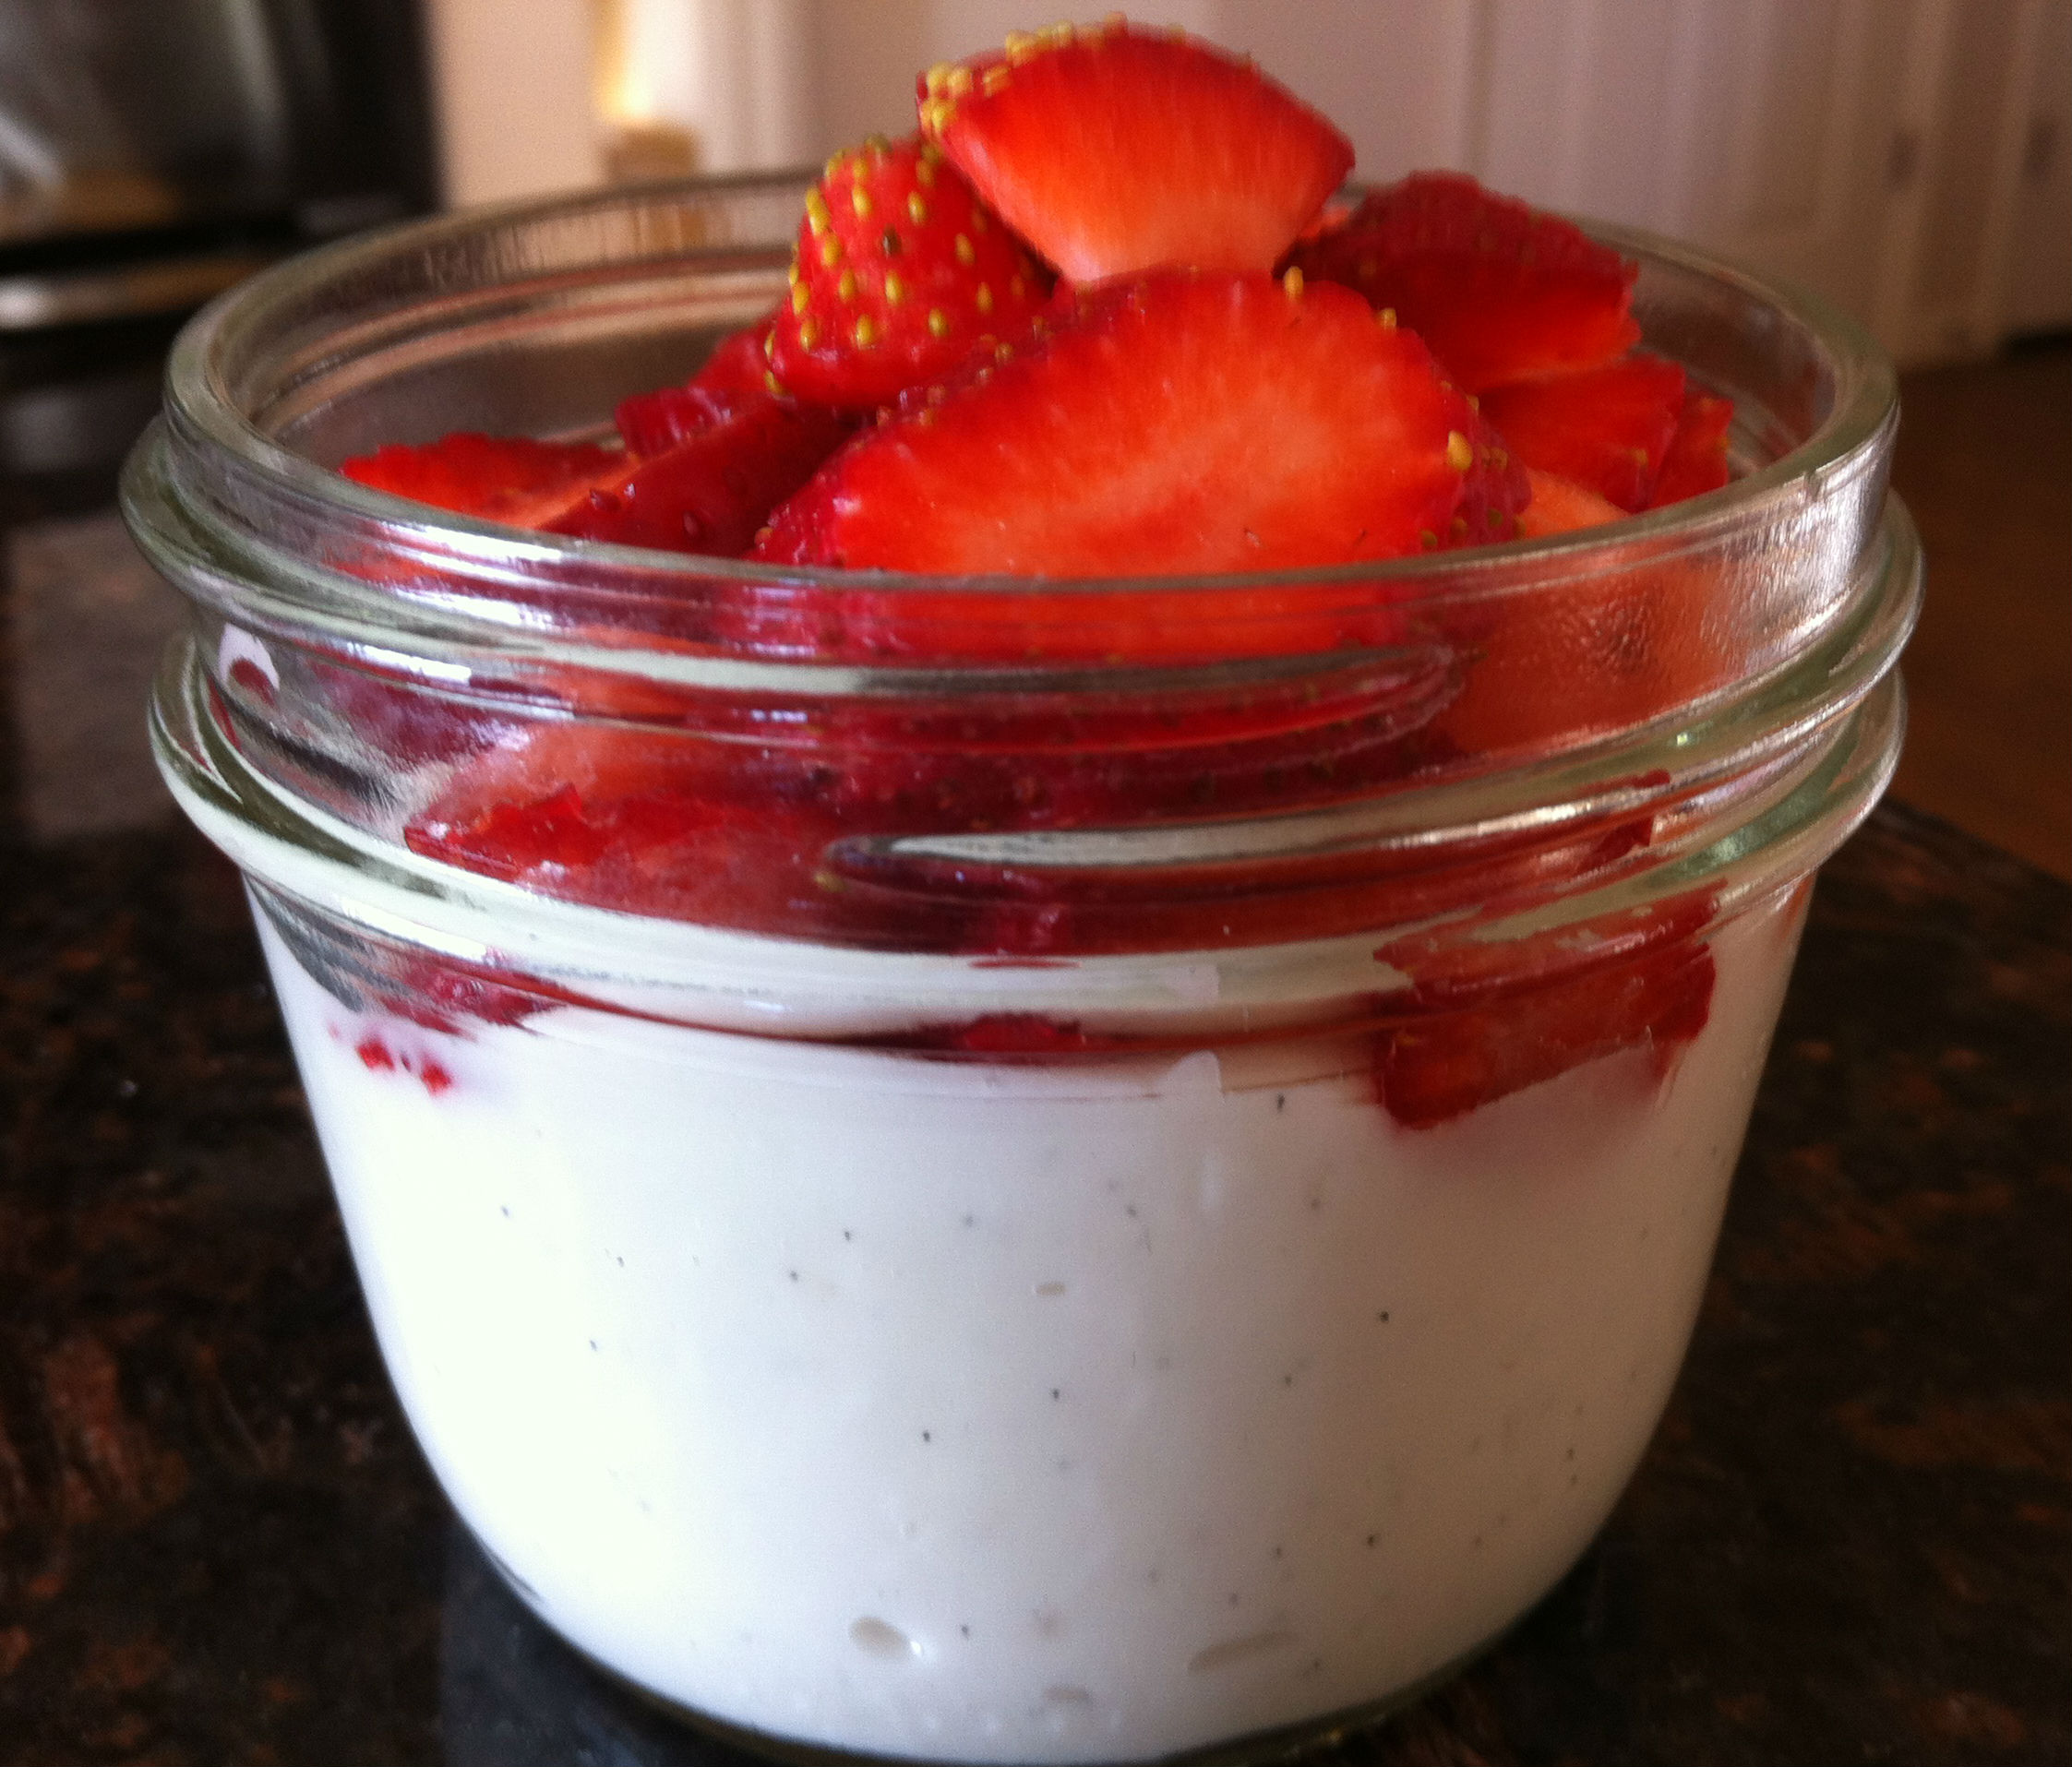
Options: This yogurt is so good, to me, it does not need to be additionally sweetened. I generally add some yummy berries and sprinkle some grain free granola on top. However, if you do want to add some extra flavoring, Cultures for Health recommends adding that after the yogurt is cultured and is ready to eat. Real Vanilla Bean (not the extract) may be the only exception, as I have found it has not affected my yogurt and the culturing process. Adding the vanilla beans are optional; use the same recipe to make plain yogurt and skip the beans. Some sweeteners to add when the yogurt is ready to eat may include honey, sugar and maple syrup. I feel guilt free when adding a little extra sweet for my family because the 2 tablespoons of sugar added in making the yogurt, feeds the yogurt cultures (I can't say for sure how much of the sugar is gone, but regardless it is still significantly less than commercial yogurt...also there is 0 grams of sugar in canned coconut milk). To make a thicker yogurt, try adding an additional (+or-) tablespoon of tapioca flour. If you are looking for a Vegan Coconut Yogurt, I would suggest checking out Cultures for Health recipes.
Other Suggestions:
- Peel and freeze very ripe bananas. Blend 1 frozen banana with 1 jar of yogurt to make a smoothie. Add a little coconut milk, almond milk or rice milk at a time to desired thickness. Extras: add peanut butter and or Cacao Powder. The less milk you add the more it will be like ice cream verses smoothie. Up to you!
- 1 jar of yogurt, 5 + organic frozen strawberries to taste and a little coconut milk, almond milk or rice milk to desired thickness. The less milk you add the more it will be like ice cream verses smoothie. Up to you!
- Make Guilt Free Yogurt Ice Cream. If you have a Ice Cream Machine, this can be lots of fun. Strawberry, banana, YUM!!! mint chip, chocolate, chocolate peanut butter swirl....getting a little crazy!! I have also made soft serve vanilla ice cream with my Cuisinart Ice Cream Maker...who can resist. Generally, I just blend, taste and put it in my ice cream maker. Obviously the more sugar you add the more it tastes like ice cream. You can always add honey instead of sugar and if your strawberries and bananas are very ripe, that can be sweet enough and healthy for a deceptive dessert every night! Yogurt Ice Cream recipes coming soon!
- If you would like a thicker more dense yogurt add an additional TBSP of Gelatin.
- FYI - I just tried a different canned coconut milk and the yogurt did not come out good. So I would highly recommend the one I bought!


